

A running toilet isn’t just an annoyance—it’s a waste of water that can increase your utility bills. In many cases, the culprit is a worn-out toilet flapper. Replacing this essential component is a simple DIY fix that homeowners in Lewisville, Grapevine, Arlington, and other areas served by A#1 Air can handle. Read on to learn how to replace a toilet flapper, and when it’s time to call in a professional plumber.
What Is a Toilet Flapper?
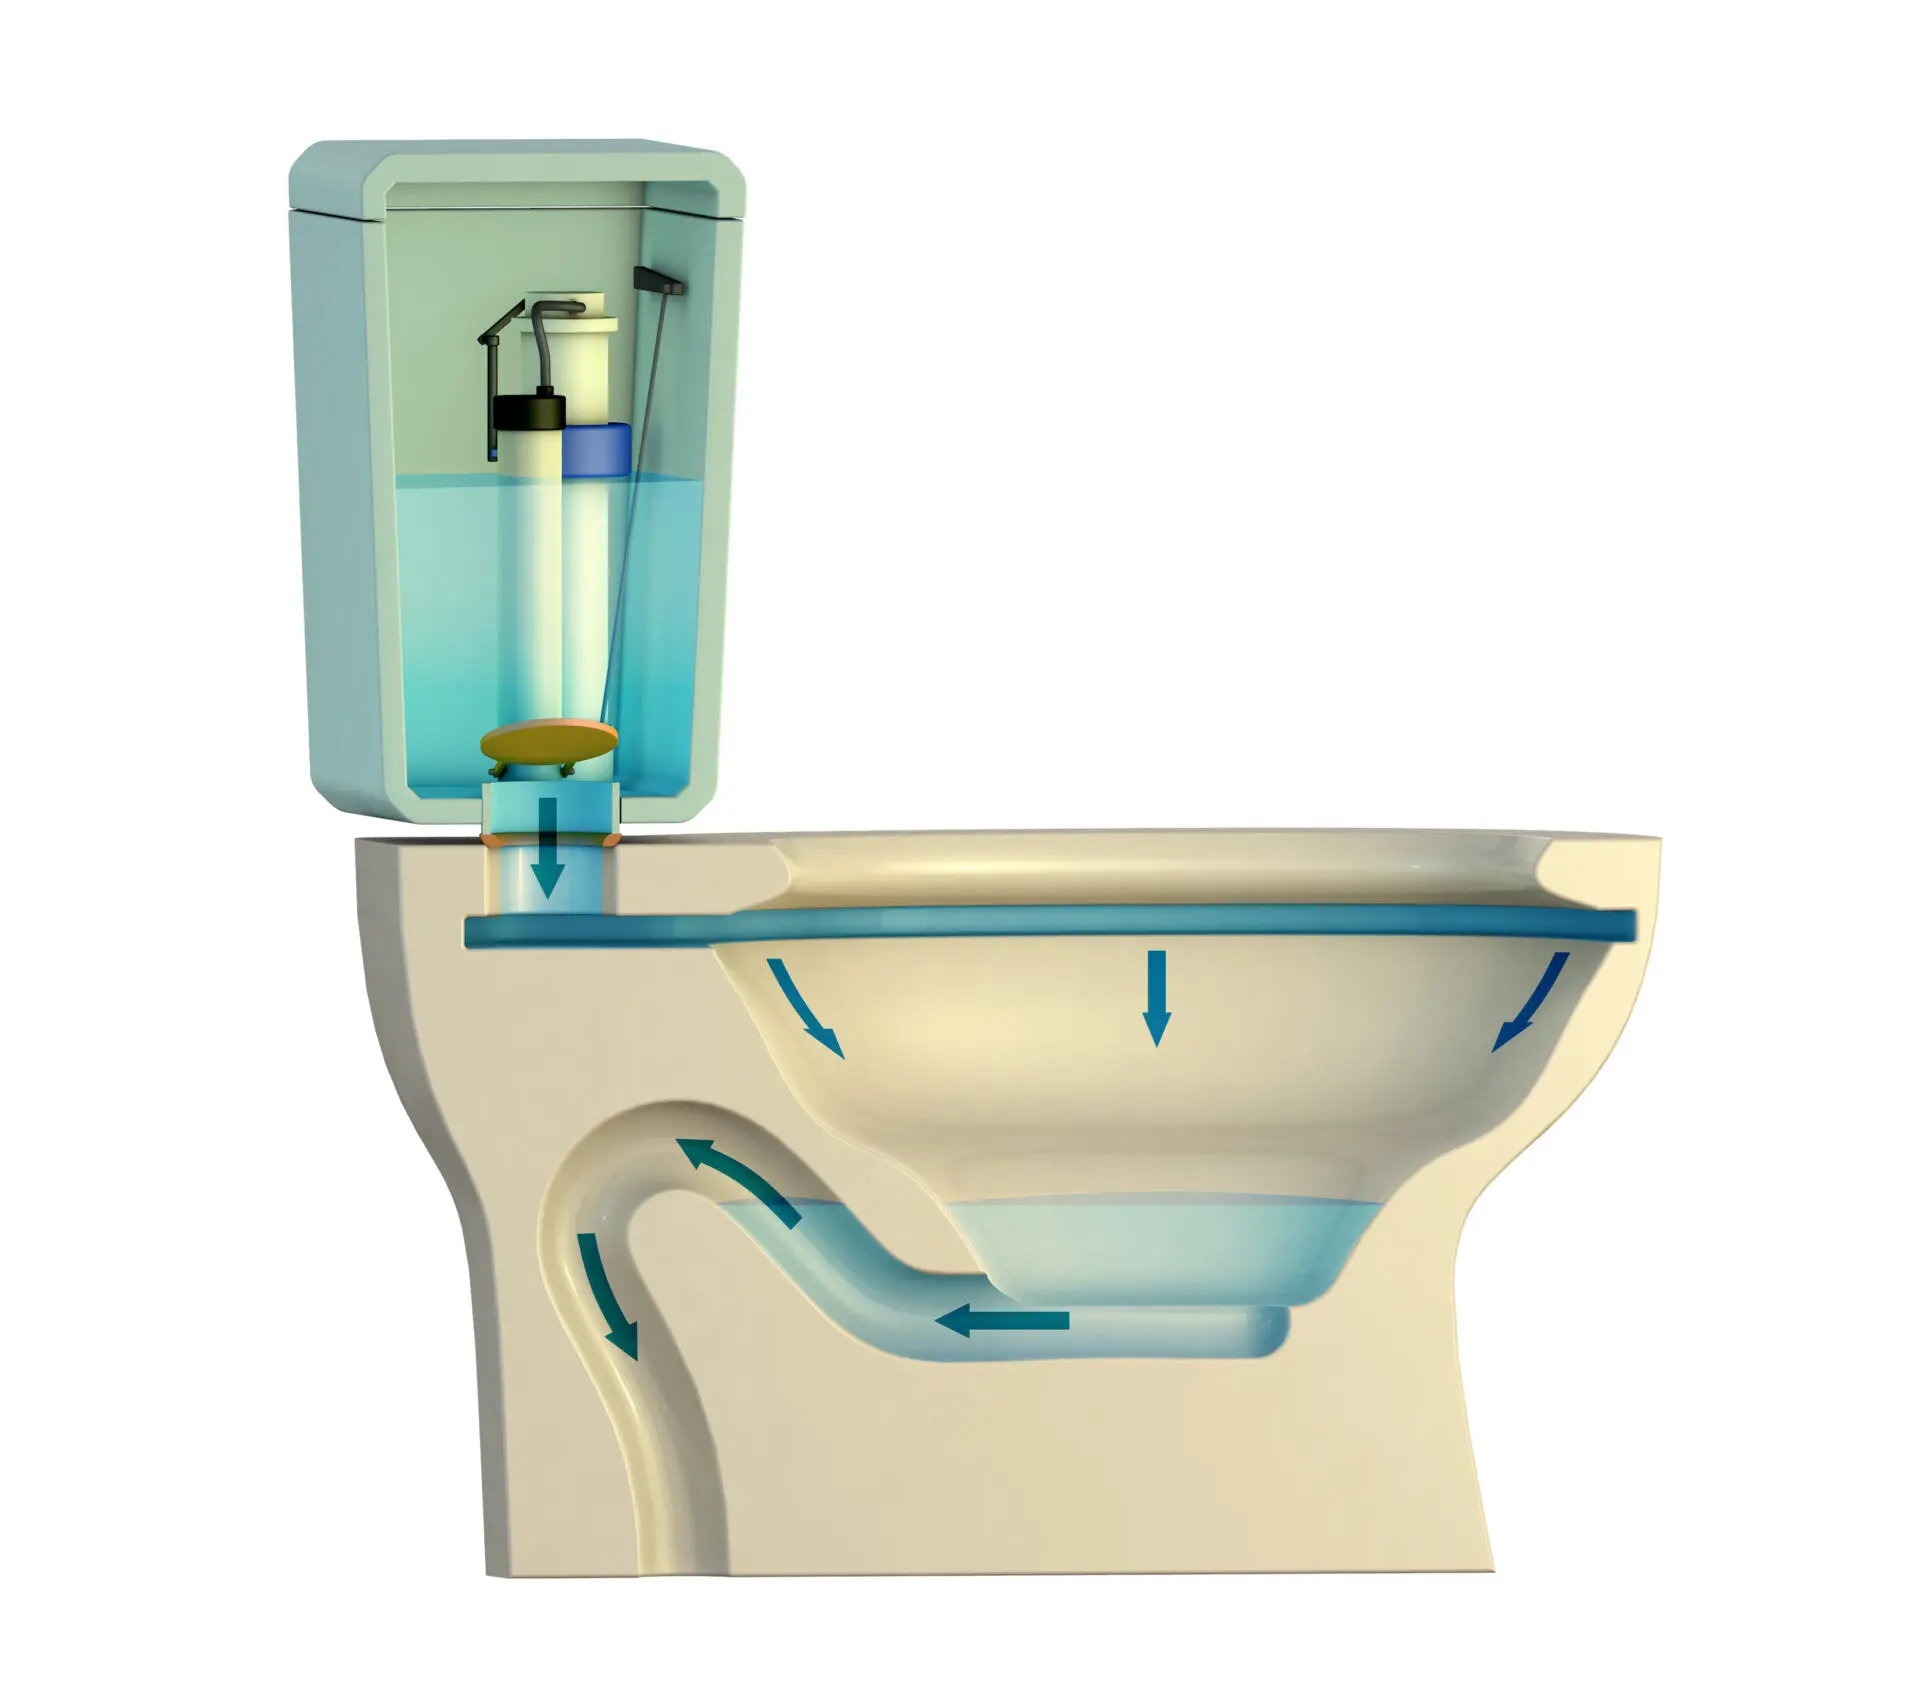
The toilet flapper is a rubber or plastic valve at the bottom of your toilet tank. When you flush, the flapper lifts, allowing water to flow into the bowl. Over time, flappers can wear out or lose their seal, causing water to leak from the tank into the bowl. This constant running can waste hundreds of gallons of water.
Signs Your Toilet Flapper Needs Replacement
Before diving into a repair, confirm that the flapper is the issue. Look for these signs:
- Constant Running Water: If your toilet keeps running after flushing, the flapper may not be sealing properly.
- Poor Flushing Power: A faulty flapper may prevent the proper amount of water from entering the bowl.
- Visible Damage: Inspect the flapper for cracks, warping, or discoloration.
How to Replace a Toilet Flapper
Follow these easy steps to replace your toilet flapper:
1. Turn Off the Water Supply
Before you begin, turn off the water supply to your toilet by closing the valve located behind the toilet. Flush the toilet to empty the tank.
2. Remove the Old Flapper
- Open the tank lid and locate the flapper at the bottom of the tank.
- Detach the flapper from the overflow tube by unhooking its side ears or chain.
- Remove the old flapper and inspect the flush valve seat for any mineral buildup or debris.
3. Install the New Flapper
- Purchase a replacement flapper that matches your toilet model. Universal flappers are available but ensure compatibility.
- Attach the new flapper to the overflow tube by hooking its side ears onto the pegs.
- Connect the flapper chain to the flush handle lever, leaving a slight slack to ensure proper operation.
4. Test the Flapper
- Turn the water supply back on and allow the tank to refill.
- Flush the toilet to check for proper operation. Ensure the flapper seals correctly and stops water from leaking into the bowl.
When to Call a Professional Plumber
If replacing the flapper doesn’t resolve the issue, your toilet may have other underlying problems, such as a damaged flush valve or hard water buildup. A#1 Air’s expert plumbers are here to help with all your plumbing needs, from toilet repairs to full plumbing system inspections. We proudly serve Lewisville, Grapevine, Arlington, Fort Worth, Highland Village, North Richland Hills, and surrounding areas.
Why Choose A#1 Air?
At A#1 Air, we specialize in HVAC, plumbing, and electrical services, ensuring your home’s systems run smoothly. Our licensed plumbers provide prompt and reliable service, using the latest tools and techniques to tackle any plumbing issue. Whether it’s a simple toilet repair or a complex installation, we’ve got you covered.
Schedule Your Service Today
Don’t let a running toilet drain your wallet. If you’re unsure how to replace a toilet flapper or if the issue persists, call A#1 Air at (972) 746-2224 or request an appointment online. Our team is ready to restore your plumbing and bring peace of mind to your home.